
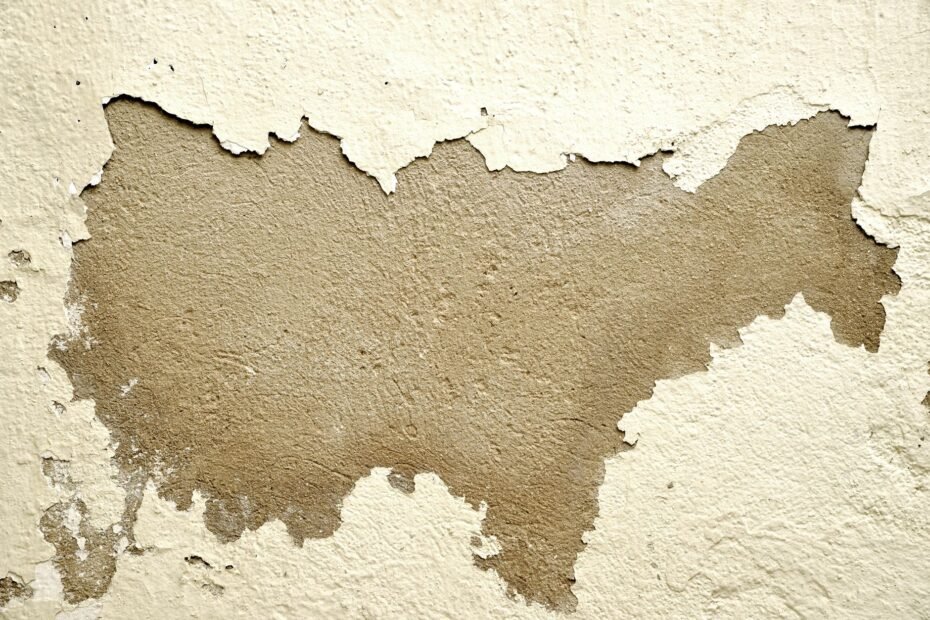
Lasting wall repairs begin by correcting the moisture or adhesion failure, then removing loose material, sealing damaged drywall, patching and sanding the surface, and priming before repainting. This order keeps fresh interior latex paint from lifting again because every new layer needs a dry, firm surface beneath it.
You’ll work through moisture, weak paint layers, drywall damage, plaster failure, primer choice, and finish blending. The steps suit interior drywall and plaster walls with small chips or broader peeling patches.
The Failed Layer Reveals the Real Cause
Peeling paint starts at a break between layers, between paint and wall material, or inside the wall surface. Your repair begins with that break, since scraping before locating moisture or weak adhesion can leave the same failure under fresh paint.
Visible Clues Point to Different Failures
| Visible clue | Likely cause | Your next step |
|---|---|---|
| Bubbles near a pipe, tub, or window | Active moisture or condensation | Locate and dry the water source before surface work. |
| Peeling over shiny old paint | Poor paint adhesion | Remove weak paint and dull the glossy surface. |
| Brown rings or yellow water stains | Old leak or roof moisture damage | Confirm dryness, then cover marks with stain-blocking primer. |
| Powdery paint that rubs off | Chalky or degraded coating | Clean the residue and use a bonding primer. |
| Wide cracks across plaster | Plaster movement or loose base layers | Repair the plaster base before repainting. |
| Fuzzy torn paper on drywall | Damaged gypsum facing paper | Seal exposed paper before adding compound. |
Bubbling near plumbing signals moisture, not a paint-only problem. For example, a blistered patch below a bathroom supply line can point to a slow fitting leak inside the wall cavity. Your new coating can release again until the cavity dries.
A dry living-room wall can fail for a different reason. Interior latex paint placed over glossy alkyd paint without scuffing has little grip, so sheets lift at their edges. Chalky paint causes the same result because the new coating sticks to dust rather than a solid layer.
Active Water Stops Surface Work
Dark drywall, a musty odor, soft gypsum, recurring stains, or damp trim means the wall is not ready for repair. Moisture damage can travel beyond the visible stain, especially below windows and around shower walls. You need the leak, condensation source, or ventilation issue corrected before repainting.
Stop work around wet electrical boxes, active plumbing leaks, visible mold growth, or crumbly plaster. A finished surface cannot hold where the wall remains wet or structurally weak.
Bathroom peeling calls for a close look at the exhaust fan and cold exterior walls. Steam that settles on a cool wall can wet the paint film night after night without a pipe leak. Run the fan during bathing and long enough afterward to clear visible humidity from mirrors and walls.
Because peeling can expose older coatings and moisture-weakened materials, assess hazards before disturbing the surface.
Safety Checks Come Before Scraping
That cause check also shows whether scraping is safe to start. Homes built before 1978 need extra caution because older layers can contain lead-based paint, especially around windows, doors, trim, and repeatedly repainted walls.
Older Paint Needs Dust Control
Lead dust becomes a hazard through sanding, grinding, dry scraping, or demolition. A home lead-paint test kit can screen a small area, yet broad peeling, several buried paint layers, or work near children calls for a qualified lead inspection or risk assessment.
Keep chips intact instead of grinding old paint into dust. Your goal is controlled removal with drop cloths, plastic sheeting, damp scraping, and cleanup afterward. Avoid power sanding and open-flame paint removal around paint that could contain lead.
- Cover the floor: Spread a disposable drop cloth several feet beyond the damaged wall so chips stay inside the work area.
- Wear basic protection: Use gloves, eye protection, and a properly fitted respirator rated for fine particles during sanding.
- Use damp methods: Lightly mist loose paint before hand scraping to reduce airborne dust without soaking drywall.
- Bag debris promptly: Seal chips, used abrasive pads, and wipes before carrying them through your home.
- Clean in stages: Vacuum, then wipe nearby hard surfaces with a damp disposable cloth.
Renters should photograph peeling paint, stains, and nearby plumbing before repair work starts. Your landlord or property manager needs written notice around water intrusion, mold, or broad paint failure because the source can sit behind the wall.
A small cosmetic chip in a newer unit differs from a spreading ceiling stain. Documentation shows the condition of the wall before you touch it and gives the property owner a clear record of a roof leak, failed pipe, or poor bathroom ventilation.
Loose Paint Comes Off Without Cutting Into Drywall
Once the wall is dry and safe to disturb, weak paint has to leave. Paint that lifts under light scraper pressure is no longer part of a stable surface, so a finish coat placed over it only buries the failure for a short time.
Basic Tools Match the Damage
A narrow paint scraper gives you control along edges, while a wider scraper clears broad flakes. Keep a utility knife, sanding sponge, fine-grit sandpaper, vacuum, drop cloths, spackling compound, primer, and matching interior latex paint within reach.
Use a carbide scraper with restraint. Its sharp blade can cut into drywall paper in seconds, turning a shallow coating issue into a drywall repair. Your pressure should lift paint rather than carve gypsum.
Feathered Edges Hide the Repair Line
- Score loose edges: Cut around lifting paint with a utility knife and stop at paint that stays firmly attached.
- Scrape outward gently: Hold the paint scraper at a low angle and push toward the loose edge.
- Check each border: Press with your thumb and remove paint that flexes, cracks, or releases.
- Feather the ridge: Sand from the bare area outward until the old paint edge fades gradually.
- Clear the dust: Vacuum debris and wipe the wall with a clean damp cloth before patching.
For how to remove loose peeling paint, restraint matters more than force. Stop at firmly bonded material, even where the color changes beneath the surface. You do not need to strip every old layer unless the whole coating system has failed.
Feathering keeps a repaired spot from showing as a raised island under side light. Hold a flashlight close to the wall and angle it across the surface. Your fingers and raking light reveal ridges before paint makes them visible.
Once loose material and surface flaws are visible, repairs will only last if the substrate beneath them is sound.
Damaged Drywall and Plaster Need a Stable Base
Scraping exposes weak spots such as torn drywall paper, shallow gouges, and loose plaster edges. Bare gypsum pulls moisture from wet compound, while torn facing paper can swell and bubble under a patch.
Sealers Hold Torn Paper Flat
Seal exposed gypsum and ragged drywall paper before adding compound. A drywall sealer or shellac-based sealer locks down fuzzy fibers and gives patching material a firm base instead of a soft paper edge.
For example, a scraper can tear a two-inch patch of brown drywall facing paper beside a peeled chip. Sealing the paper, allowing it to dry, and then patching it stops the blisters that appear after joint compound wets exposed fibers.
Thin Patches Stay Flatter
Use spackling compound for nail holes, pinholes, and shallow scraper marks. Wider low areas respond better to setting-type joint compound or a skim coat because those materials spread across a broader patch without building one thick hump.
Spread a thin layer beyond the damaged zone, then allow it to dry before another pass. Heavy compound shrinks, cracks, and catches side light. Your wall needs added layers only where the surface still dips below the surrounding paint.
Sand dry compound with a fine-grit sanding sponge, then vacuum the white dust. Check the patch from the side instead of straight on. A smooth repair is ready for primer after its edges disappear by touch and under raking light.
Primer Choice Follows the Wall Condition
A smooth patch still needs a bridge between the wall and finish coat. Primer controls uneven porosity, strengthens marginal surfaces, and blocks stains that could bleed through fresh paint.
Surface Conditions Call for Different Primers
| Wall condition | Primer type | Why it fits your repair |
|---|---|---|
| Glossy, sound old paint | Bonding primer | Creates grip after cleaning and light abrasion. |
| Chalky paint residue | Bonding primer | Anchors weak residue after thorough cleaning. |
| Old water marks | Stain-blocking primer | Seals yellow or brown discoloration before finish paint. |
| Exposed gypsum or torn paper | Drywall sealer | Balances suction and locks damaged paper fibers. |
| Bathroom wall with past condensation | Moisture-resistant primer system | Pairs with ventilation and suitable bathroom paint. |
Zinsser and KILZ make primers in these categories, while Benjamin Moore and Sherwin-Williams label interior primers by stain blocking, bonding, and drywall sealing roles. Match the label to your wall condition rather than choosing primer by paint color alone.
The best primer for peeling paint repair depends on what scraping exposed. A water stain needs stain-blocking primer, while sound glossy paint needs bonding primer. No primer fixes a leak, loose plaster, and chalky paint at the same time.
Surface Dryness Does Not Prove Cavity Dryness
Surface-dry paint can hide damp material inside a wall cavity. Cool drywall, a lingering odor, fresh darkening, softness, or a returning stain signals moisture remains. Give your wall more drying time and trace the source before primer goes on.
Coat primer over bare areas, repaired patches, and feathered edges. Follow the drying interval printed on the label because room temperature and humidity change that window. Your finish coat needs a dry primer film rather than a tacky surface that drags under the roller.
After primer has cured, extending the finish across the wall prevents repaired areas from catching the light differently.
A Full-Wall Finish Blends Better Than a Small Touch-Up
The final choice is visual as well as mechanical. A small patch can disappear in flat paint, but satin, semi-gloss, dark colors, and broad repairs can flash and leave a dull or shiny rectangle around your work.
Wall-to-Wall Paint Reduces Flashing
Spot repair suits a small patch in low-sheen paint with the original color still available. Roll from corner to corner across a full wall where the repair is broad, the paint has faded, or the sheen is satin or higher.
Use the same roller nap that formed the surrounding texture. A 3/8-inch nap roller suits smooth interior walls, while a thicker nap can leave a visible texture mismatch. Your final roller passes should stay in one direction and overlap into the wet edge.
Final Checks Catch Repeat Problems
- Press paint edges: Check around the repair after curing; no edge should lift or crack under your fingertip.
- Rake light sideways: Shine a light across the patch to reveal ridges, dents, or roller marks.
- Watch stain coverage: Look for yellowing or dark rings after primer and before the finish coat.
- Control bathroom humidity: Run ventilation and address window condensation before normal room use resumes.
- Respect drying time: Give every coating the label-listed time before another layer or furniture returns.
Fresh paint cannot compensate for a wet wall. A dry, stable substrate and compatible primer matter more than thicker finish coats.
To fix peeling paint on walls for the long term, treat the failed layer as evidence rather than an ugly patch. Clean walls before future repainting, control bathroom humidity, and repair leaks at their source.
What the Finished Repair Needs
Peeling starts below the visible chip. Your durable repair comes from stopping moisture, removing loose edges, sealing damaged drywall paper, smoothing thin patches, and matching primer to the material beneath.
Paint is the final layer of the system, not the layer that solves a wet cavity, weak plaster base, or poor paint adhesion. You get a cleaner finish by correcting the failure before the roller reaches the wall.
FAQ
Can you paint over peeling paint on a wall?
No. Paint placed over peeling material has no stable base, so your new coat can release with the old one. Remove paint that lifts under light scraper pressure, feather sound edges, patch defects, and prime bare or repaired areas before repainting.
Do you have to remove all peeling paint before repainting?
You need to remove loose, cracked, bubbling, or poorly bonded sections, while sound paint can stay. Your scraper test gives a clear answer: paint that stays firm under gentle pressure can remain, while paint that flexes or lifts needs removal.
Why is the paint peeling off my walls?
Peeling usually points to moisture damage, condensation, poor paint adhesion, chalky old paint, or a weak drywall or plaster surface. Your wall can also peel in patches near a small leak, window condensation, or an area where glossy paint was never scuffed.
How do I fix peeling paint on drywall without damaging the wall?
Start with a low-angle paint scraper and lift only paint that has already lost its bond. Seal torn drywall facing paper before spackling compound or joint compound goes on. You protect the gypsum by using light pressure and feathering edges with fine-grit sandpaper.
Can I paint over peeling paint if I use primer?
No primer can hold loose paint in place. Primer bonds to the surface beneath it, so unstable paint remains an unstable base. Your repair needs loose material removed before primer covers bare drywall, patches, stains, or sound scuffed paint.
What type of primer should I use after scraping peeling paint?
Use bonding primer on sound glossy or chalky surfaces after cleaning, stain-blocking primer over old water marks, and drywall sealer on exposed gypsum or torn paper. Bathroom walls with past condensation need a moisture-resistant paint system plus working ventilation.