
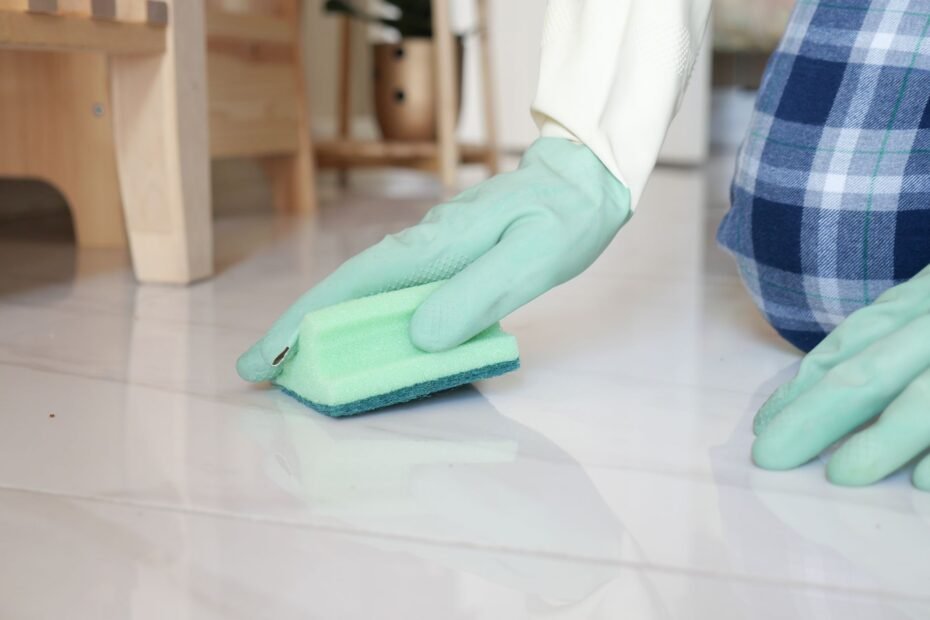
A controlled wet-cleaning routine removes loose grit first, then uses a pH-neutral tile cleaner and nylon brush before rinsing away slurry and drying the area. Soil settles below a mop’s reach, so your floor can stay gray after mopping.
This approach helps you separate routine buildup from damaged grout, match cleaning products to tile material, and lift stubborn discoloration without harming your floor surface.
Tile Material and Discoloration Set the Starting Point
Color alone does not reveal the cause of a dark grout line. A gray joint that lightens after a damp wipe has surface soil, while a line that stays dark after drying may hold embedded grit, mineral residue, or moisture-related mildew staining. Your cleaner should match the cause rather than rely on the strongest product available.
Surface Soil and Grout Failure Leave Different Clues
Inspect the grout before adding water. Cracked, loose, or missing sections cannot return to sound condition through scrubbing because the cement-based material has already broken down. Your next step is grout repair or regrouting, not more pressure from a brush.
| What you see | Likely cause | What helps |
|---|---|---|
| Light gray film across traffic paths | Surface dirt and mop residue | pH-neutral tile cleaner and rinse water |
| Dark lines near doorways | Embedded grit and tracked-in soil | Nylon brushing, then oxygen bleach |
| White crust near a toilet or entry | Mineral residue | Tile-safe mineral remover selected for the surface |
| Black pinpoint spots near wet areas | Moisture-related staining or mildew stains | Moisture control and a compatible cleaner |
| Gaps, crumbling edges, or movement | Failed grout | Repair or regrouting |
Tile Material Limits the Cleaner Choice
Ceramic and porcelain tile have hard glazed faces that tolerate a broad range of floor-cleaning products. Natural stone tile, including marble, travertine, limestone, and some slate, reacts differently because acids can etch mineral surfaces. Your floor can lose its sheen before the grout looks cleaner.
Sealed versus unsealed grout also changes the job. Sealed grout resists soil for a period, while porous unsealed joints absorb dirty water quickly. Start gently on either surface, then move to stronger methods only after a mild cleaner, brush, and rinse show their limit.
A Mild Cleaner and Nylon Brush Remove Routine Buildup
Loose sand can scratch tile during wet work, especially on polished porcelain. Sweep or vacuum the whole area before adding liquid, then move rugs and clear corners where dry debris gathers. Your grout brush can focus on soil instead of grinding grit into the tile finish.
Routine Supplies Keep Cleaning Controlled
- Dry debris removal: Sweep or vacuum seams and edges so abrasive grit stays out of the cleaning slurry.
- pH-neutral tile cleaner: Select a formula labeled for your tile, such as a neutral Zep tile product where its label matches the surface.
- Stiff nylon grout brush: Use firm nylon bristles that reach the joint without scratching tile or leaving rust particles.
- Two water buckets: Keep clean rinse water separate from dirty water so loosened soil does not return to the floor.
- Absorbent towels: Dry each finished area before dirty water settles back into porous grout.
Metal wool does not belong on tile grout. It can scratch glazed ceramic and porcelain tile, snag rough stone, and leave iron particles that later turn orange. A stiff nylon grout brush gives you focused pressure along the narrow joint, where a wide mop head cannot reach.
Keep cleaner on a small area, about the space of two or three tiles. Long dwell time can leave a film, especially on unsealed grout.
Apply only the amount named on the product label, then scrub with short back-and-forth strokes. Your hand pressure should feel firm rather than frantic. A dirty kitchen path can need two mild passes instead of a harsh single pass.
Even a gentle cleaner can leave loosened soil behind unless the rinse water carries it away.
The Rinse Sequence Stops Soil From Settling Back Into Grout
Cleaner left in a grout line becomes part of the next dirt problem. Residue can dry tacky or dull, giving fresh soil a surface that it can cling to. The method for how to clean floor grout ends with a full rinse, not the last scrub stroke.
Small Sections Make Rinsing More Thorough
- Wet the joints: Put your selected cleaner on a manageable section and leave it only for the label-listed dwell time.
- Scrub the line: Move the nylon brush back and forth along each joint using short strokes instead of broad circles.
- Lift dirty liquid: Mop or towel up the gray slurry before it dries into grout pores.
- Rinse the area: Wipe with clean water and change the rinse water once it turns cloudy.
- Dry and inspect: Towel the tile and judge grout color only after the joint returns to its dry shade.
Flooding the floor works against you. Excess water carries loosened dirt into neighboring joints and can seep beneath failed grout. Keep your mop damp enough to rinse without leaving puddles behind.
Dry Grout Shows What Still Needs Attention
Example: a hallway joint can look beige while wet and dry gray in the center of each tile path. That pattern points to compacted tracked-in soil rather than a missed rinse. Claims that you can clean dirty grout without scrubbing rarely hold up against this type of embedded dirt.
A steam cleaner can loosen grime on sound ceramic and porcelain tile. Heat and moisture deserve care around cracked joints, loose tile, natural stone, and floors with installation instructions that limit steam. Your floor documentation and steam-cleaner instructions should settle close calls.
Steam does not replace rinse water after a chemical cleaner. Residue still needs removal, especially where grout has open pores that can hold dissolved soil. Dry the area after steam use so moisture does not linger along the joints.
When careful rinsing and drying no longer lift embedded discoloration, a more targeted treatment may be warranted.
Targeted Products Address Dark Stains and Deep Soil
Dark lines that remain after a complete mild-cleaner pass call for a focused next step. Oxygen bleach releases oxygen in water and can lift embedded discoloration from compatible ceramic or porcelain grout. Your result depends on contact time, rinsing, and the type of stain in the joint.
Oxygen Bleach Handles Broad Embedded Discoloration
OxiClean is a familiar oxygen bleach brand, though product directions vary by formula. Mix and use it exactly as its label states, keep it away from surfaces the label excludes, and rinse the floor fully. Colored grout deserves a small hidden-area trial before a full-room application.
| Method | Useful for | Limit |
|---|---|---|
| Oxygen bleach | Deep soil and broad gray discoloration | Needs label-directed dwell time and full rinsing |
| Baking soda paste | Small stubborn patches on compatible surfaces | Leaves loosened soil behind without rinsing |
| Hydrogen peroxide product | Some yellowed or dingy grout lines | Can alter colored grout or delicate finishes |
| Alkaline cleaner | Greasy kitchen buildup and soap scum | Requires tile compatibility and careful rinsing |
A baking soda paste gives mild abrasive action on a small spot after the initial wash. Scrub lightly, lift the paste with a damp cloth, and rinse the joint. Your goal is to remove stains from tile grout rather than leave white grit packed into the seam.
Hydrogen peroxide-based products can brighten pale cement grout stained by food, tracked dirt, or yellowing residue. Put the product on an inconspicuous section before treating a visible area, especially with colored grout. Clorox bleach products and peroxide products are not interchangeable, so keep each product in its own cleaning session.
Tile-Specific Limits Avoid Etching, Fading, and Fumes
Stronger chemistry does not help after it harms the tile beside the grout. Vinegar and products such as CLR contain acids that can etch marble, travertine, limestone, and acid-sensitive slate. Your natural stone floor needs a stone-safe, nonacidic cleaner instead.
Vinegar Does Not Suit Every Tile Floor
Baking soda and vinegar fizz briefly, but the reaction does not produce a stronger long-term grout cleaner. Vinegar remains unsuitable for acid-sensitive stone, while baking soda residue still needs removal. Soil leaves grout through brushing and rinsing, not kitchen-counter chemistry theater.
Porcelain and ceramic can tolerate more cleaning options, yet grout pigment and grout sealer still set limits. A mineral remover suited to glazed tile can still be wrong for colored grout. Read the product label for both tile material and grout compatibility before applying it.
Separate Products Keep the Cleaning Area Safer
Never mix bleach with ammonia-containing cleaners or any other household cleaner. Dangerous gases can form, so ventilate the room and rinse away one product before another enters the area.
Open nearby windows or run the bathroom exhaust fan during chemical cleaning. Rinse cloths and brushes before changing products. Your safest routine keeps the bottle count low and makes each product’s effect easier to judge.
Use a fresh cloth for the rinse step after bleach, peroxide, or alkaline cleaner. Leftover product on a brush can carry into the next cleaning session. That separation also helps you identify which product caused fading or residue.
Sealer and Regular Care Slow New Grout Darkening
Clean grout needs time to dry before grout sealer goes on. Moisture trapped under sealer can interfere with penetration and leave a blotchy appearance. Your floor should be fully dry for the period stated on the sealer label.
Grout Sealer Works Only on Sound Clean Joints
Grout sealer slows soil and spill absorption; it does not rebuild crumbling grout or hold down loose tile. Select a sealer intended for your grout and tile system, then wipe residue from tile faces before it hardens. Your label directions control dry time and later recoat timing.
Water that darkens a grout joint instead of beading can signal reduced sealer protection. That sign does not prove every joint needs immediate resealing, since grout type and past cleaning products also affect absorption. Check a small clean area before treating the entire floor.
Small Habits Reduce Repeat Buildup
- Sweep entry paths: Remove grit near exterior doors before shoes press it into grout joints.
- Mop with restraint: Use a suitable cleaner at its stated dilution instead of leaving a concentrated film.
- Change rinse water: Empty cloudy water before it redeposits fine soil across the tile.
- Wipe spills promptly: Blot coffee, cooking oil, and pet accidents before porous grout absorbs them.
- Dry wet zones: Towel bathroom edges and shower-adjacent floors where recurring moisture darkens joints.
Regular care makes your deep-cleaning work last longer. For how to clean grout between floor tiles in a busy kitchen, a quick sweep and a restrained mop routine do more than an occasional aggressive scrub. Your grout stays more even because less grit and dirty water enter the pores.
Safe Cleaning Comes From Diagnosis, Rinsing, and Restraint
The safest path starts with diagnosis rather than brute force. Match your cleaner to the tile, use a nylon brush to lift soil from the joint, rinse until residue is gone, and reserve stronger products for discoloration that remains after a gentle pass.
Natural stone tile needs a nonacidic cleaner, while sound ceramic and porcelain tile can handle broader options. Your grout stays cleaner longer after dry joints receive a compatible grout sealer and less dirty rinse water reaches the seams.
FAQ
What method gives grout between floor tiles the most reliable clean?
Start by sweeping or vacuuming, then use a pH-neutral tile cleaner and stiff nylon grout brush on small sections. Rinse each section with clean water and dry it before judging the color. Your grout needs that rinse step because leftover cleaner can hold fresh dirt.
Can baking soda and vinegar damage tile grout?
Vinegar can harm natural stone tile and can dull nearby acid-sensitive surfaces through etching. Baking soda is milder, yet its gritty residue still needs rinsing. Your safest choice for marble, travertine, limestone, or slate is a stone-safe nonacidic cleaner.
How do you remove black stains from floor grout?
Black staining can come from embedded soil, moisture-related mildew stains, or failed grout that has trapped dirt. Start with a pH-neutral cleaner and nylon brush, then use oxygen bleach on compatible ceramic or porcelain after a small hidden-area trial. Your cracked or missing grout needs repair rather than more cleaner.
Can hydrogen peroxide whiten grout lines?
Light-colored grout stained by food, soil, or yellowing residue can sometimes brighten with hydrogen peroxide-based products. Put the product on an inconspicuous area before full application, especially with colored grout. Your product label sets contact time, rinse method, and tile limits.
What sealing schedule suits tile grout after cleaning?
Sealer timing depends on grout type, traffic level, cleaner use, and the sealer’s directions. Water that darkens the joint instead of beading can signal reduced protection. Your grout must dry fully before any compatible sealer goes on.
Can steam cleaning work on grout and ceramic tile?
Sound ceramic and porcelain tile with intact grout can tolerate steam, which loosens dirt without leaving detergent behind. Avoid steam on loose tile, cracked grout, sensitive stone, or floors whose installation instructions limit heat and moisture. Your floor documentation should settle close calls.